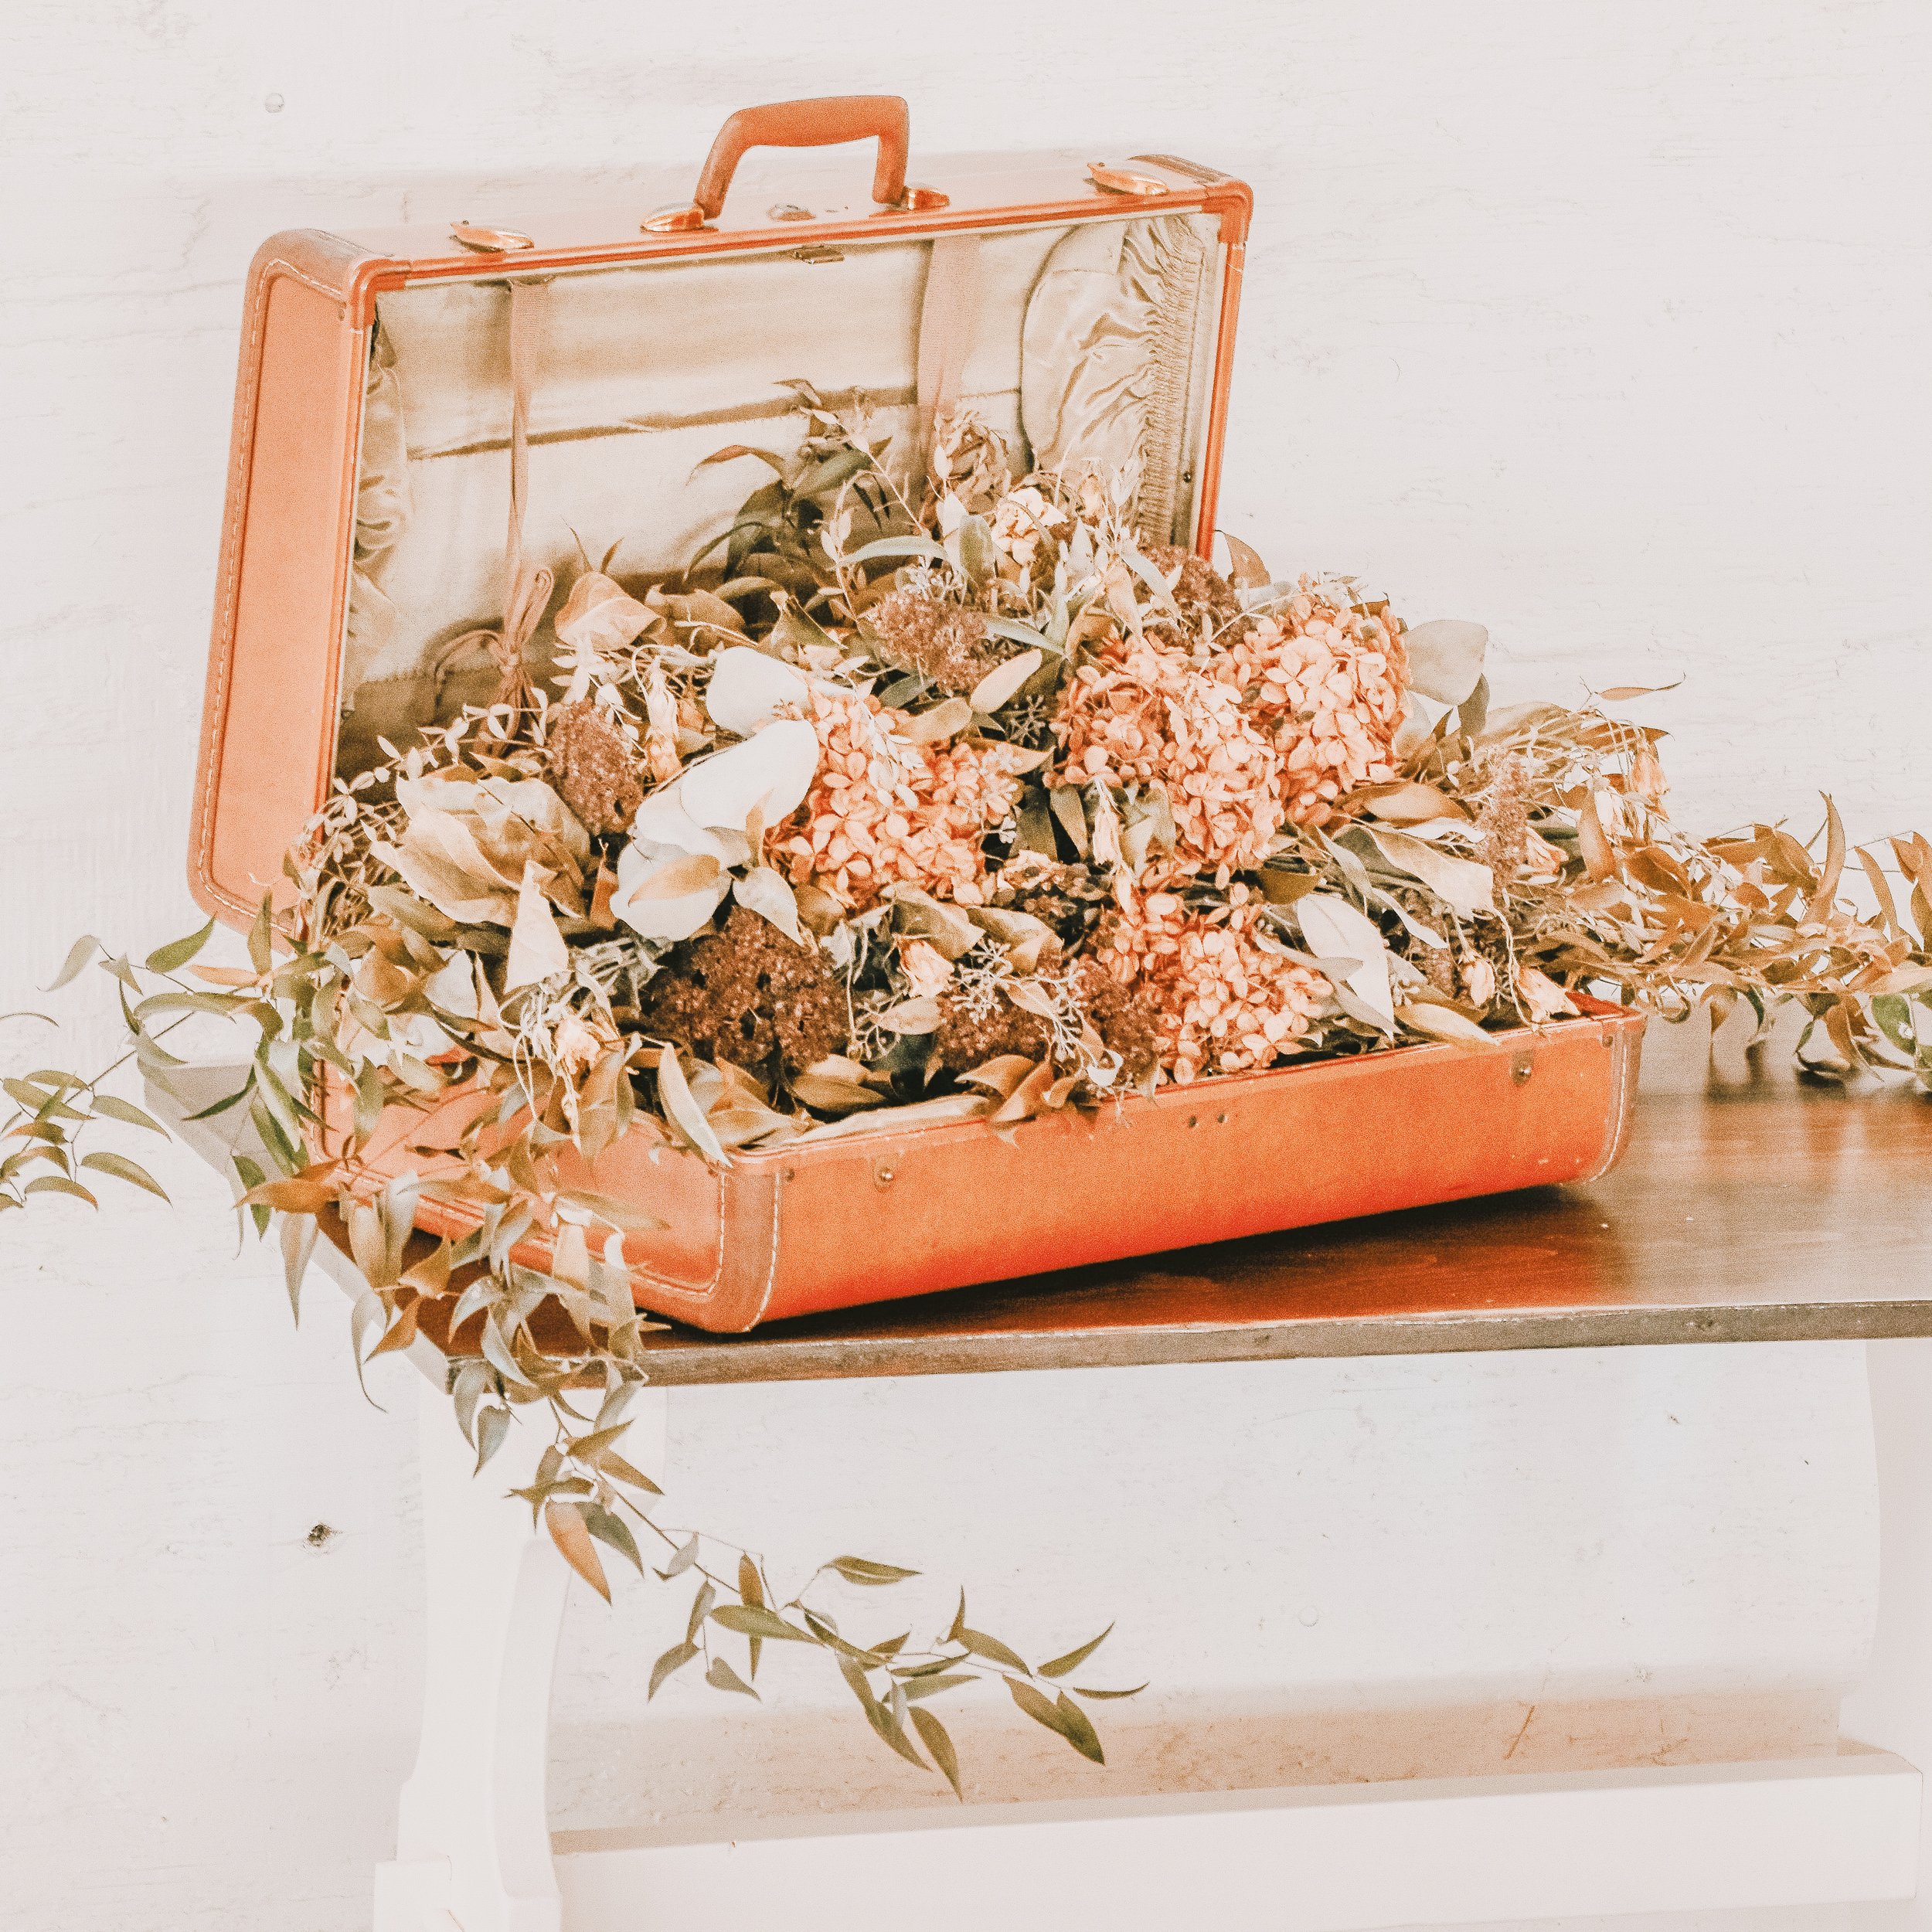
Super Easy Floral Centerpiece
/Lately I have become slightly obsessed with a show I found on Hulu called Petal Pushers. The show just follows a group of florists around as they work. I am honestly not sure why I find it so captivating. Nevertheless it has inspired me to create this easy floral centerpiece DIY for you all today.
The holidays are right around the corner. Centerpieces and floral arrangements can become so expensive, especially if they are holiday themed. With this DIY you can create your own easy floral centerpiece that is inexpensive to create and totally unique to you. Shoot. You can even create one for each season! Each mood even. Go Crazy.
First things first here's what you are going to need:
1. A Container - I went with this thankful basket because I am using mine as a Thanksgiving/Fall centerpiece. You could use a basket or a square glass vase...whatever you like.
2. Tape - I used duct tape because I have tons of the stuff and it seemed more sturdy than scotch tape but that would also probably work. Use what you have but I recommend duct tape.
3. Flowers - Here's where it get unique! I got my flowers at Michaels this time but most craft stores have HUGE selections of flowers! If you go seasonal you can find great deals! Pick out a bunch that you like and that look good together. I used four bundles. Also grab something sparkly if you're like me and love the bling!
4. Ribbon - To tie around your container!
5. Wire Cutter - I used a jewelry wire cutter. You'll need to cut the wire stems on the flowers.
Step One:
Cut two piece of tape - one to the length of your container and the other to the width. If you are using tape, cut the tape into four narrow long strips. (If you are using regular scotch tape, just cut four strips for width and four for length.)
Step Two:
Lay the strips across the basket creating a grid pattern. I learned this from Petal Pushers. ;P
Depending on the length of your stems you may need to put some paper or tissue paper at the button of the container to prop up the flowers and make them look full.
Step Three:
Cut your flowers off of the bundle. This is where the wire cutter will be a life saver.
I wanted more glitter in my floral center piece so I added some glue to the centers of my daisy and shook some glitter onto them. They turned out super cute and make my gaudy heart happy!
Step Four:
Now begin putting in your flowers. I usually start with one type of flower and spread them out and then use the rest of the flowers to fill in the gaps.
IMPORTANT: The trick here is to make sure that there is at least one flower per hole. This will prevent almost all gaps. This is what make this such an easy centerpiece to make.
For Sides/Edges: You may need to bend the wire stem so that the flower hangs over a bit to cover your tape.
Step Five (optional):
Add some finishing touches! This is what will make the arrangement look purchased rather than DIYed. I found these glitter pine cone looking things at Michaels in the Christmas floral section. I just cut them off the bundle and tucked them in all around the floral centerpiece.
I also added a champagne colored ribbon around the basket.
I LOVE how it turned out. I am not a huge fan of traditional fall colors, so this is perfect for my table. So there you have it! An easy floral centerpiece perfect for your table or anywhere else in your home!
Tell me what you think of mine in the comments! Did you see that bow I tied? I am pretty proud of it! If you are going to do this project I want to know about it! Tell me what color scheme you are going for or better yet send me a picture on social media! Oh, and follow me while you're at it!(:
As alway I am thankful for y'all. Be blessed & remember life is beautiful. Pursue it in all it's fullness.


